This is one of the projects I’m most proud of, yet it’s taken me the longest to share. I’m very aware of it’s flaws and shortcomings. I think it’s a DIYer’s worst nightmare to be proud of something only to receive criticism on it’s quality. Then again, I think that applies to humanity across the board, not just DIYers.
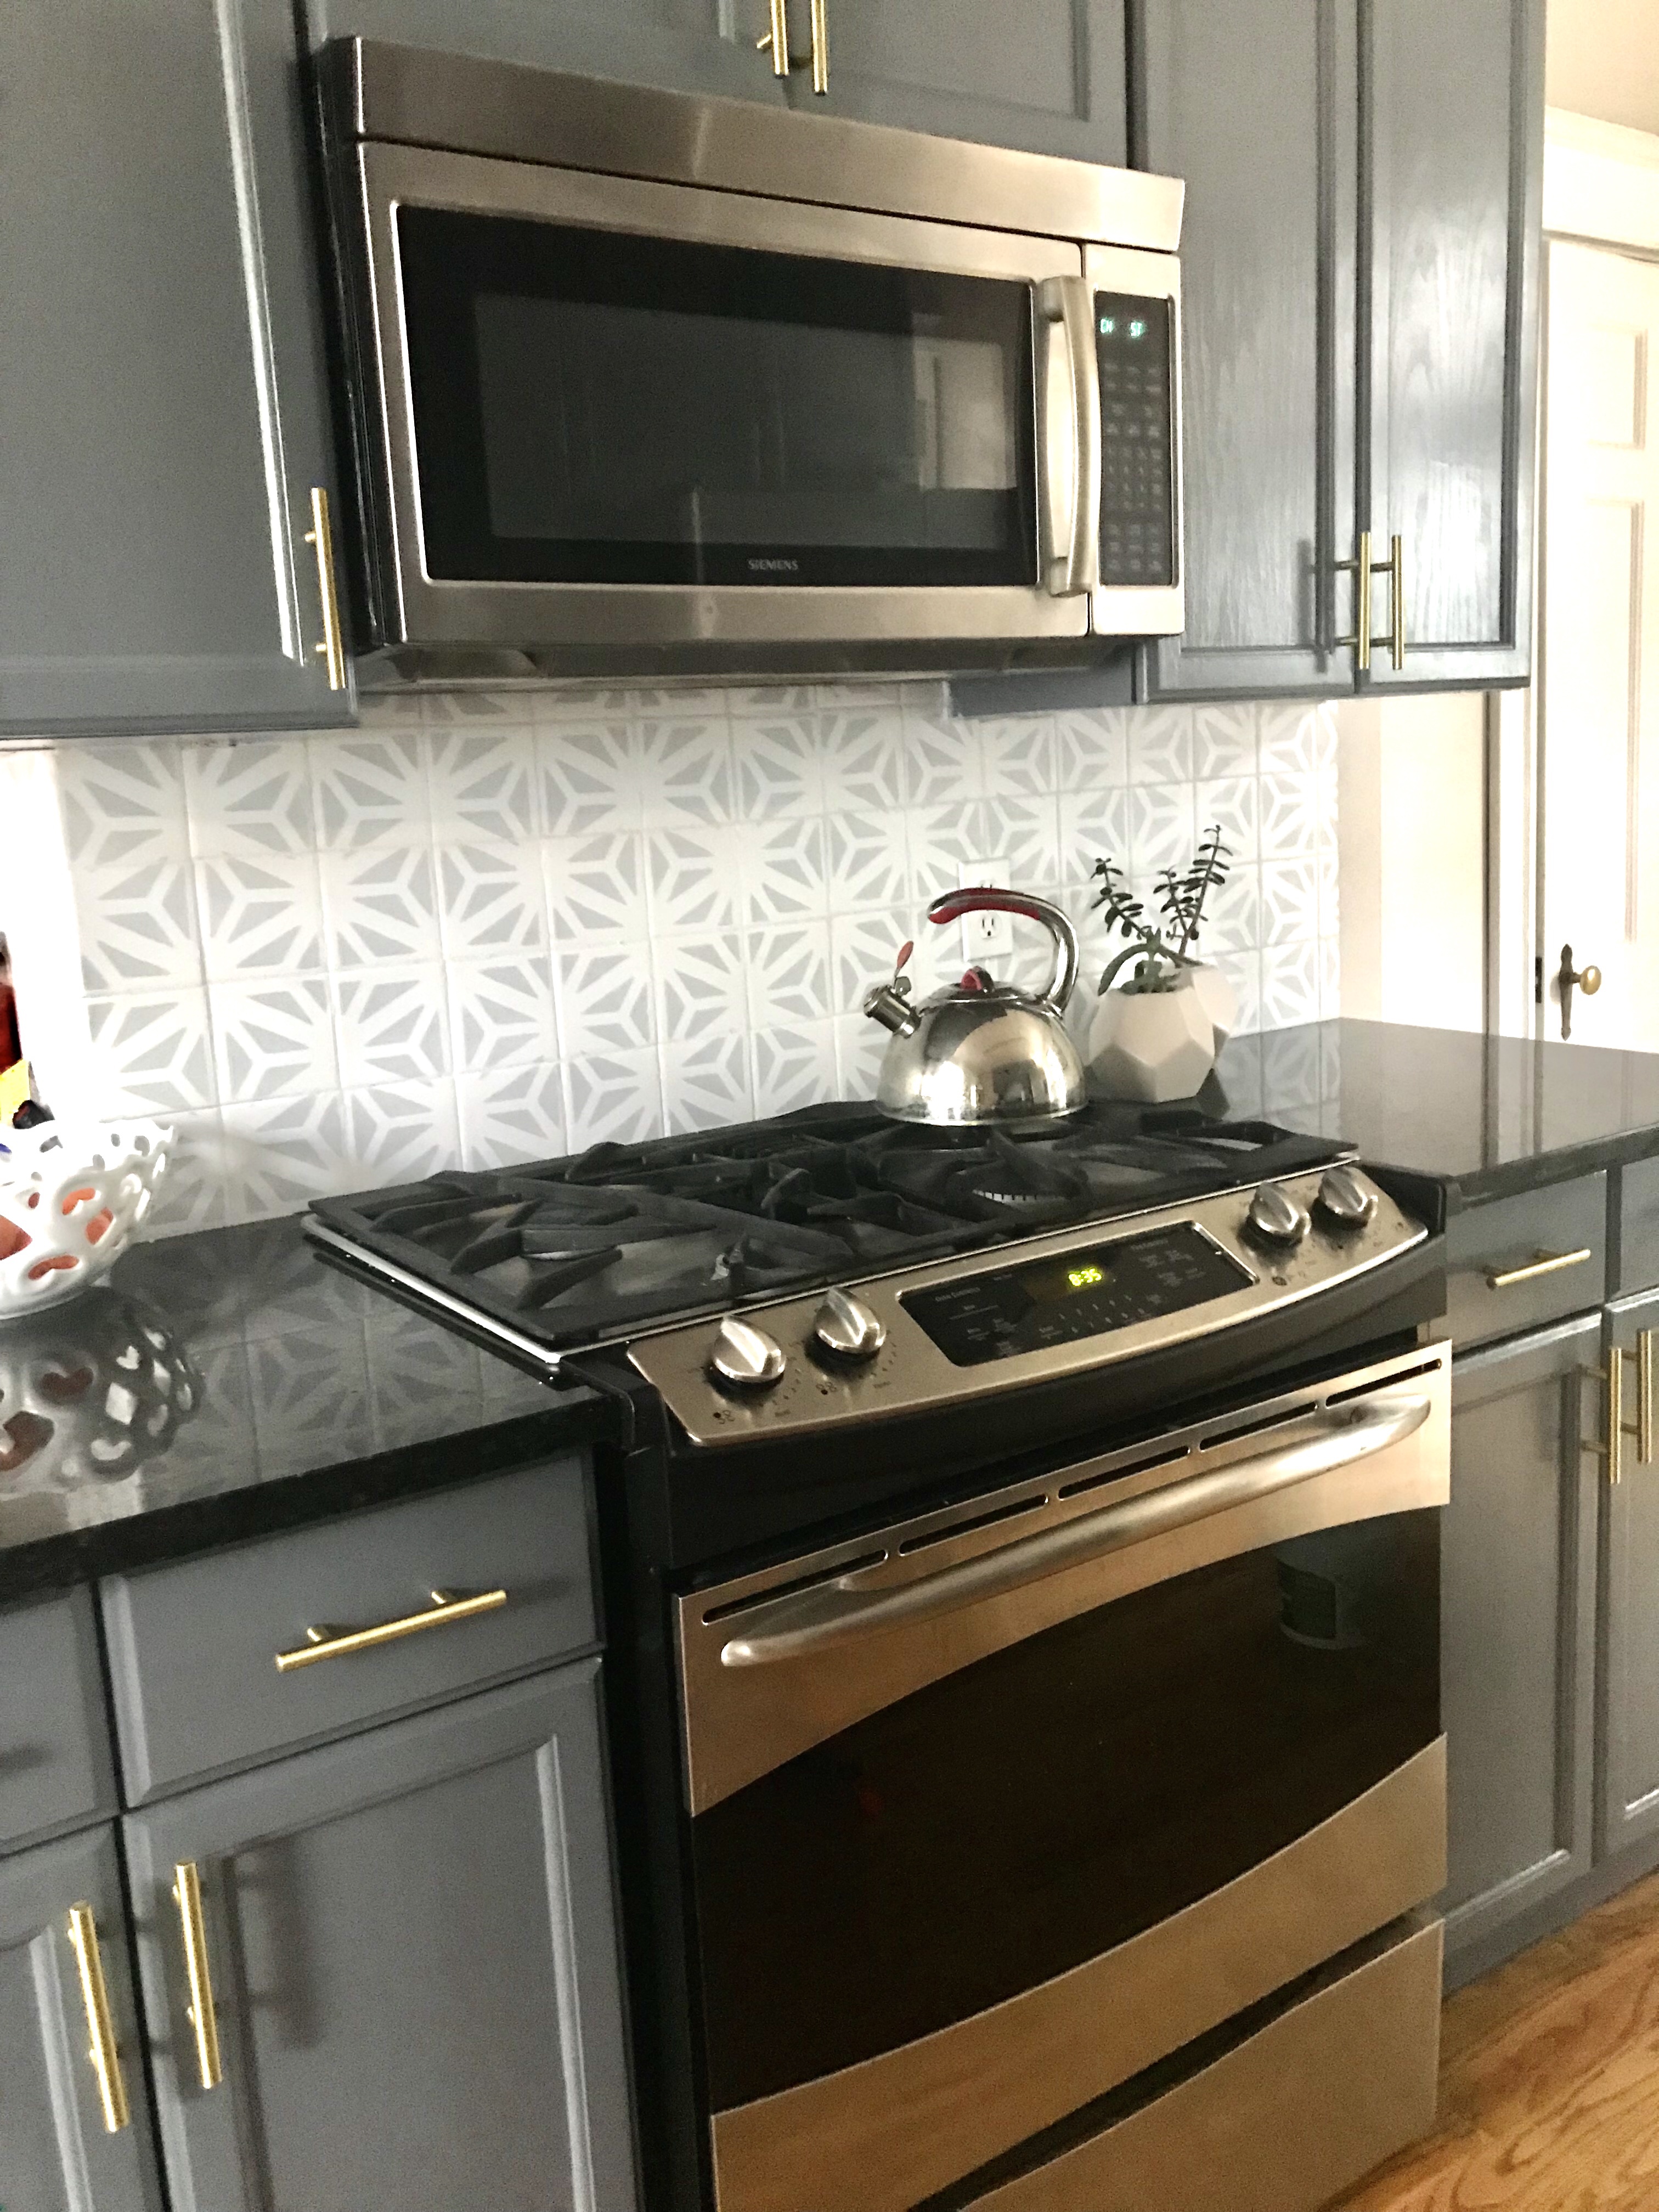
The kitchen of our 1910 home was last remodeled sometime in the 1990s or early 2000s. Whoever did the remodel did a nice job- but as much as I can appreciate the expensive solid oak cabinet doors, 20 years have gone by and they just didn’t invoke the same kind of joy I imagine they did in their prime. I had painted the cabinets Benjamin Moore Wolf Gray and LOVED how they turned out. Because I wasn’t dropping any serious money into this refresh, I decided to have fun with it and select colors and patterns that made me smile when i walked into the room.
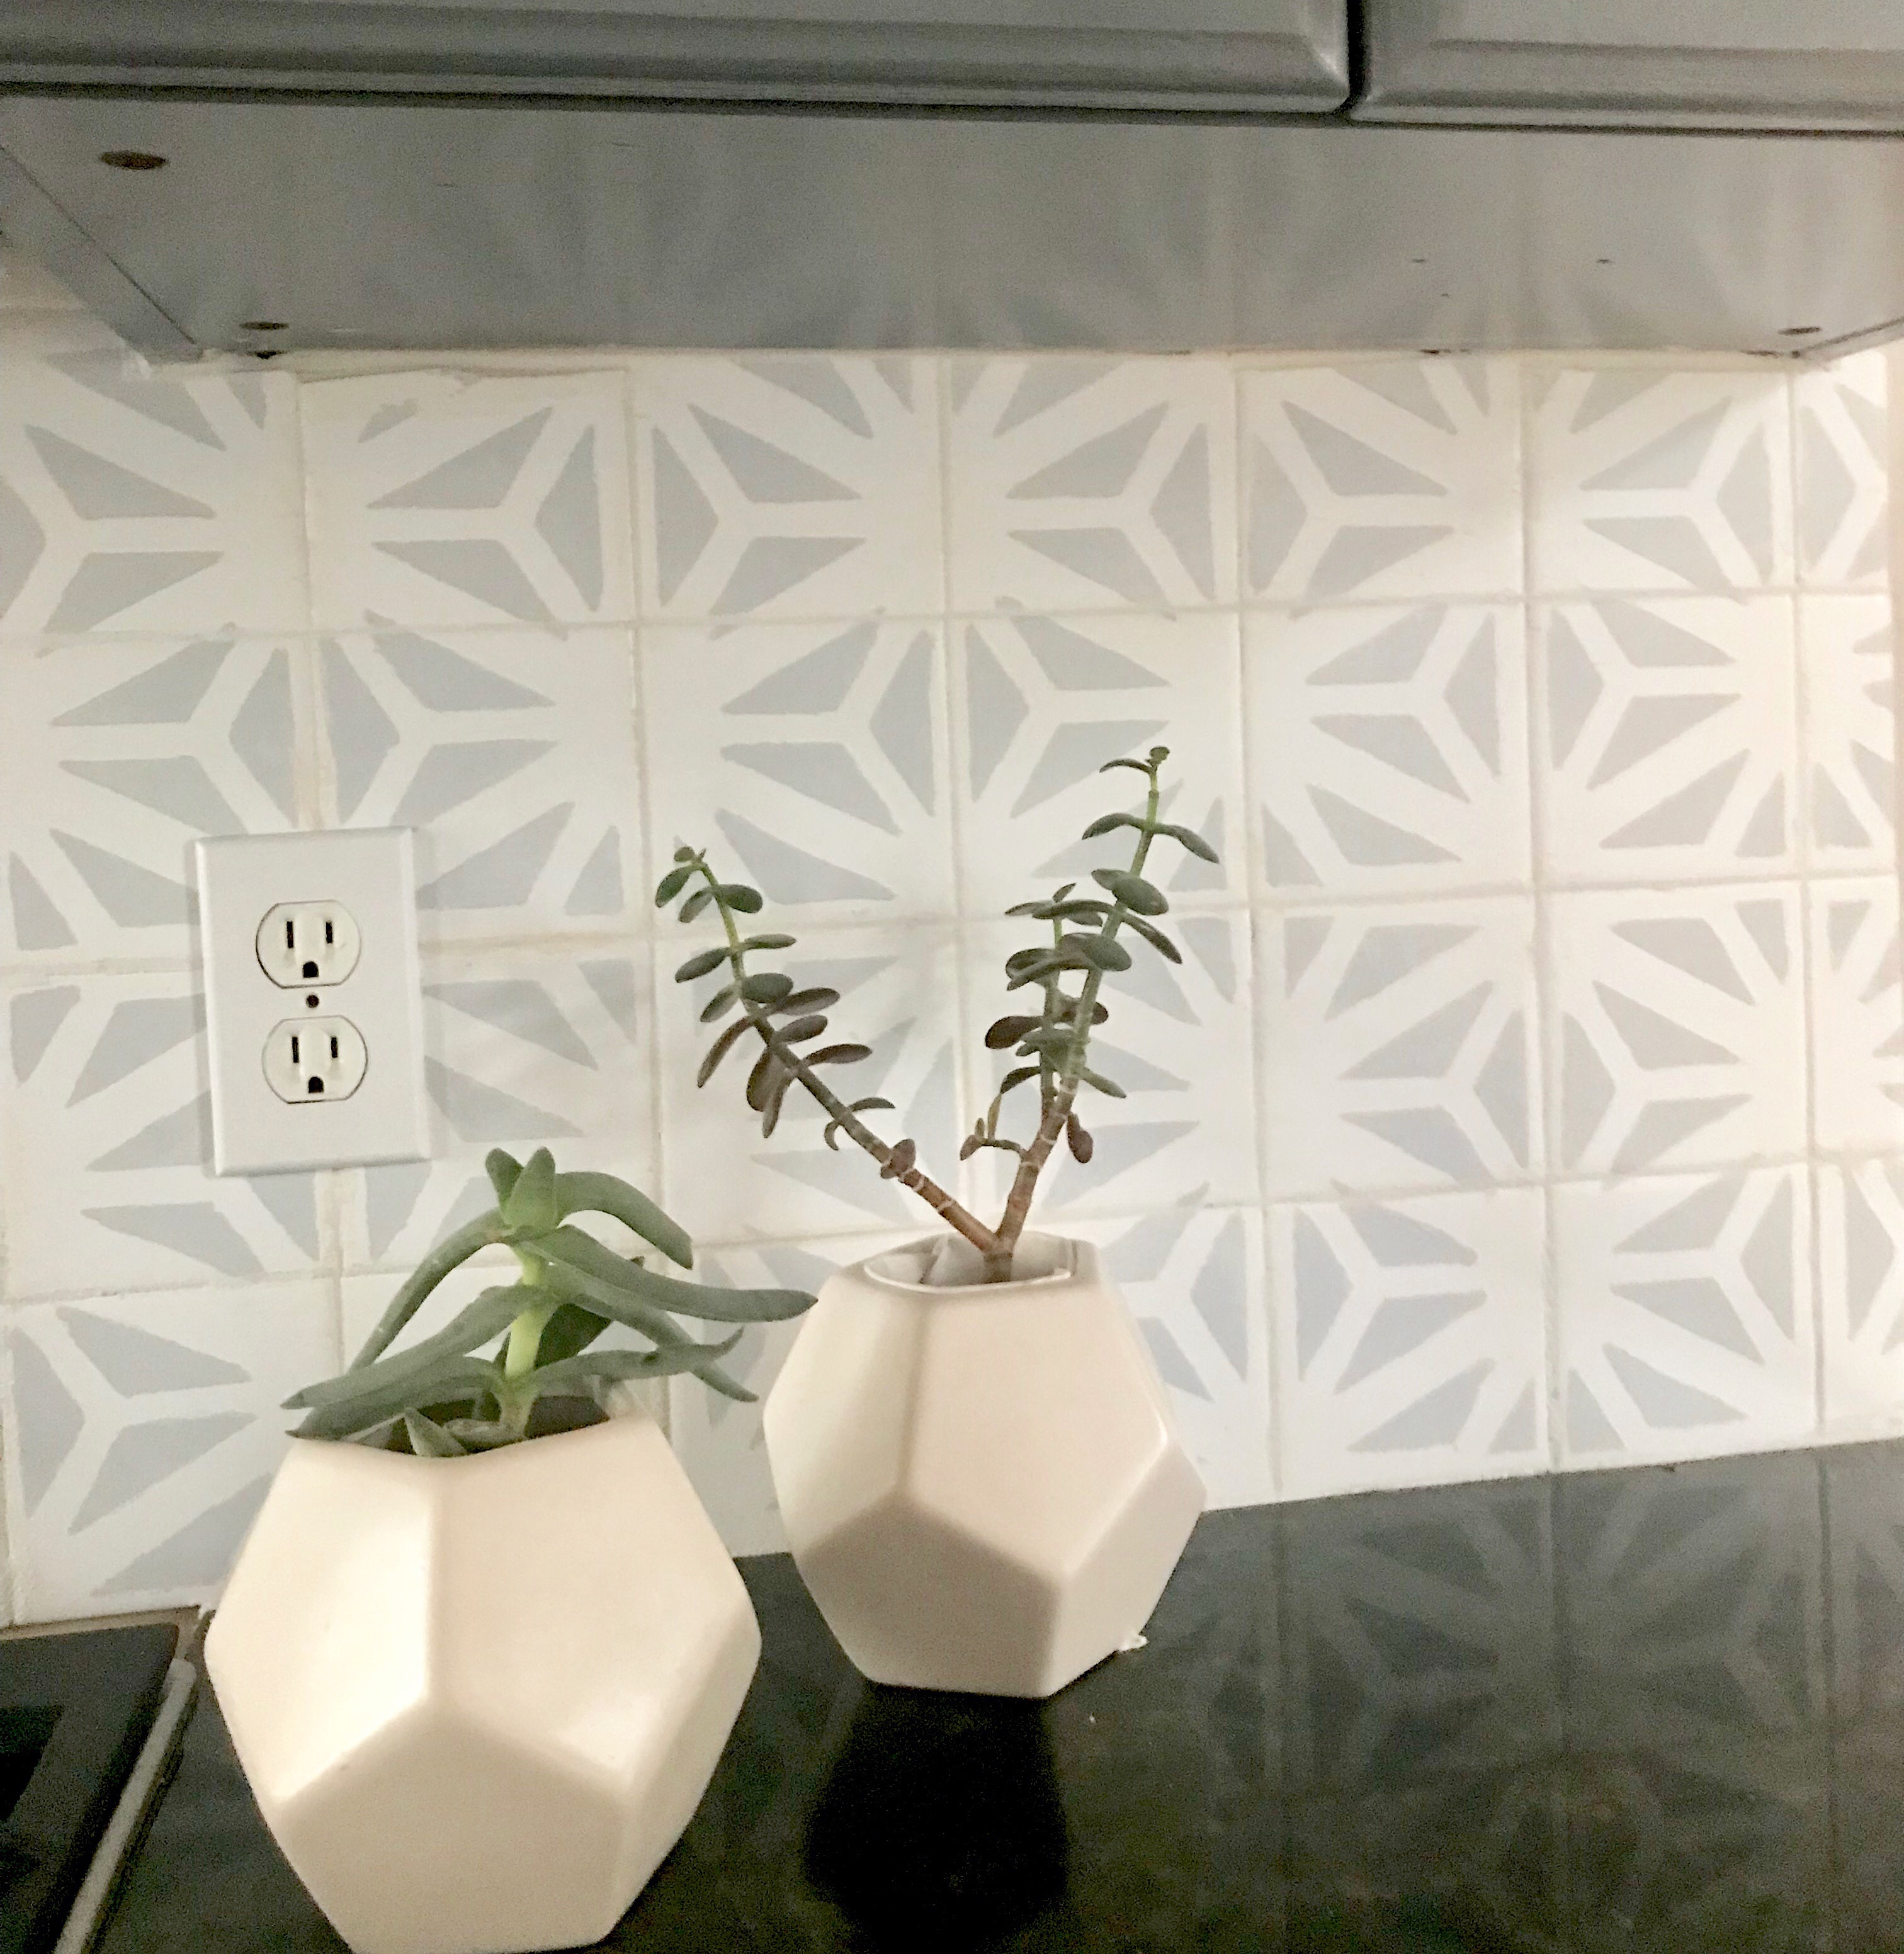
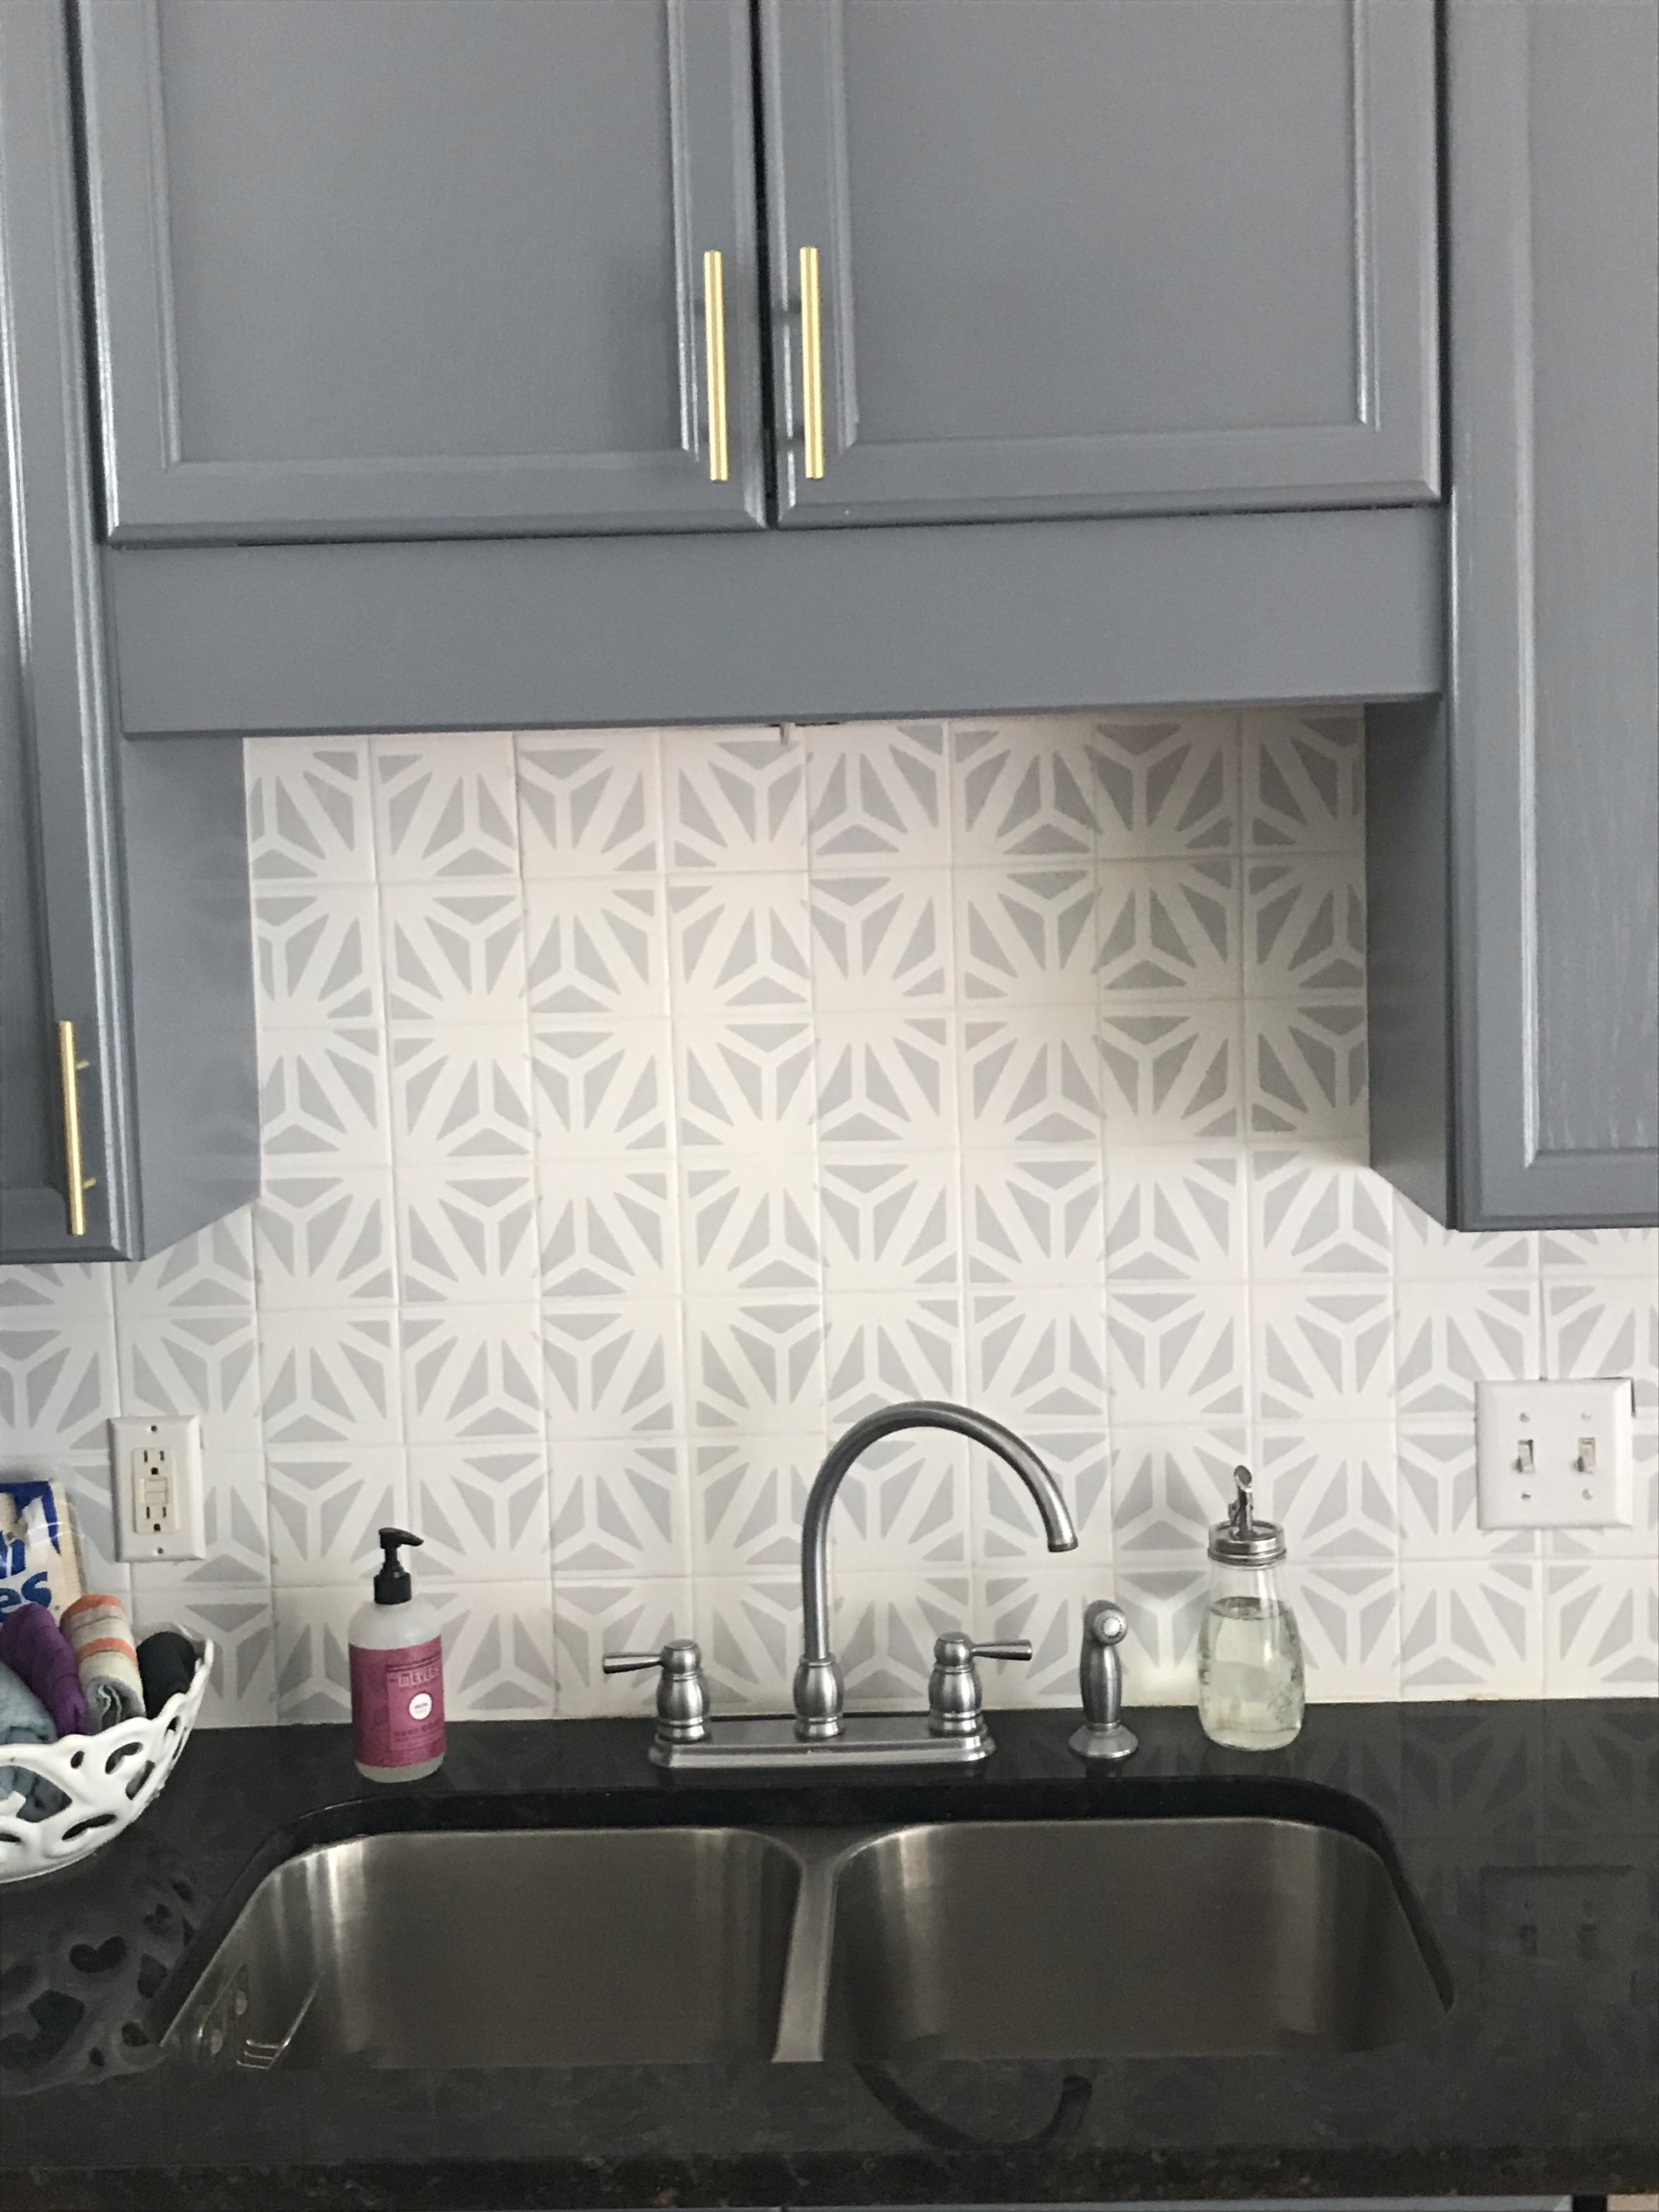
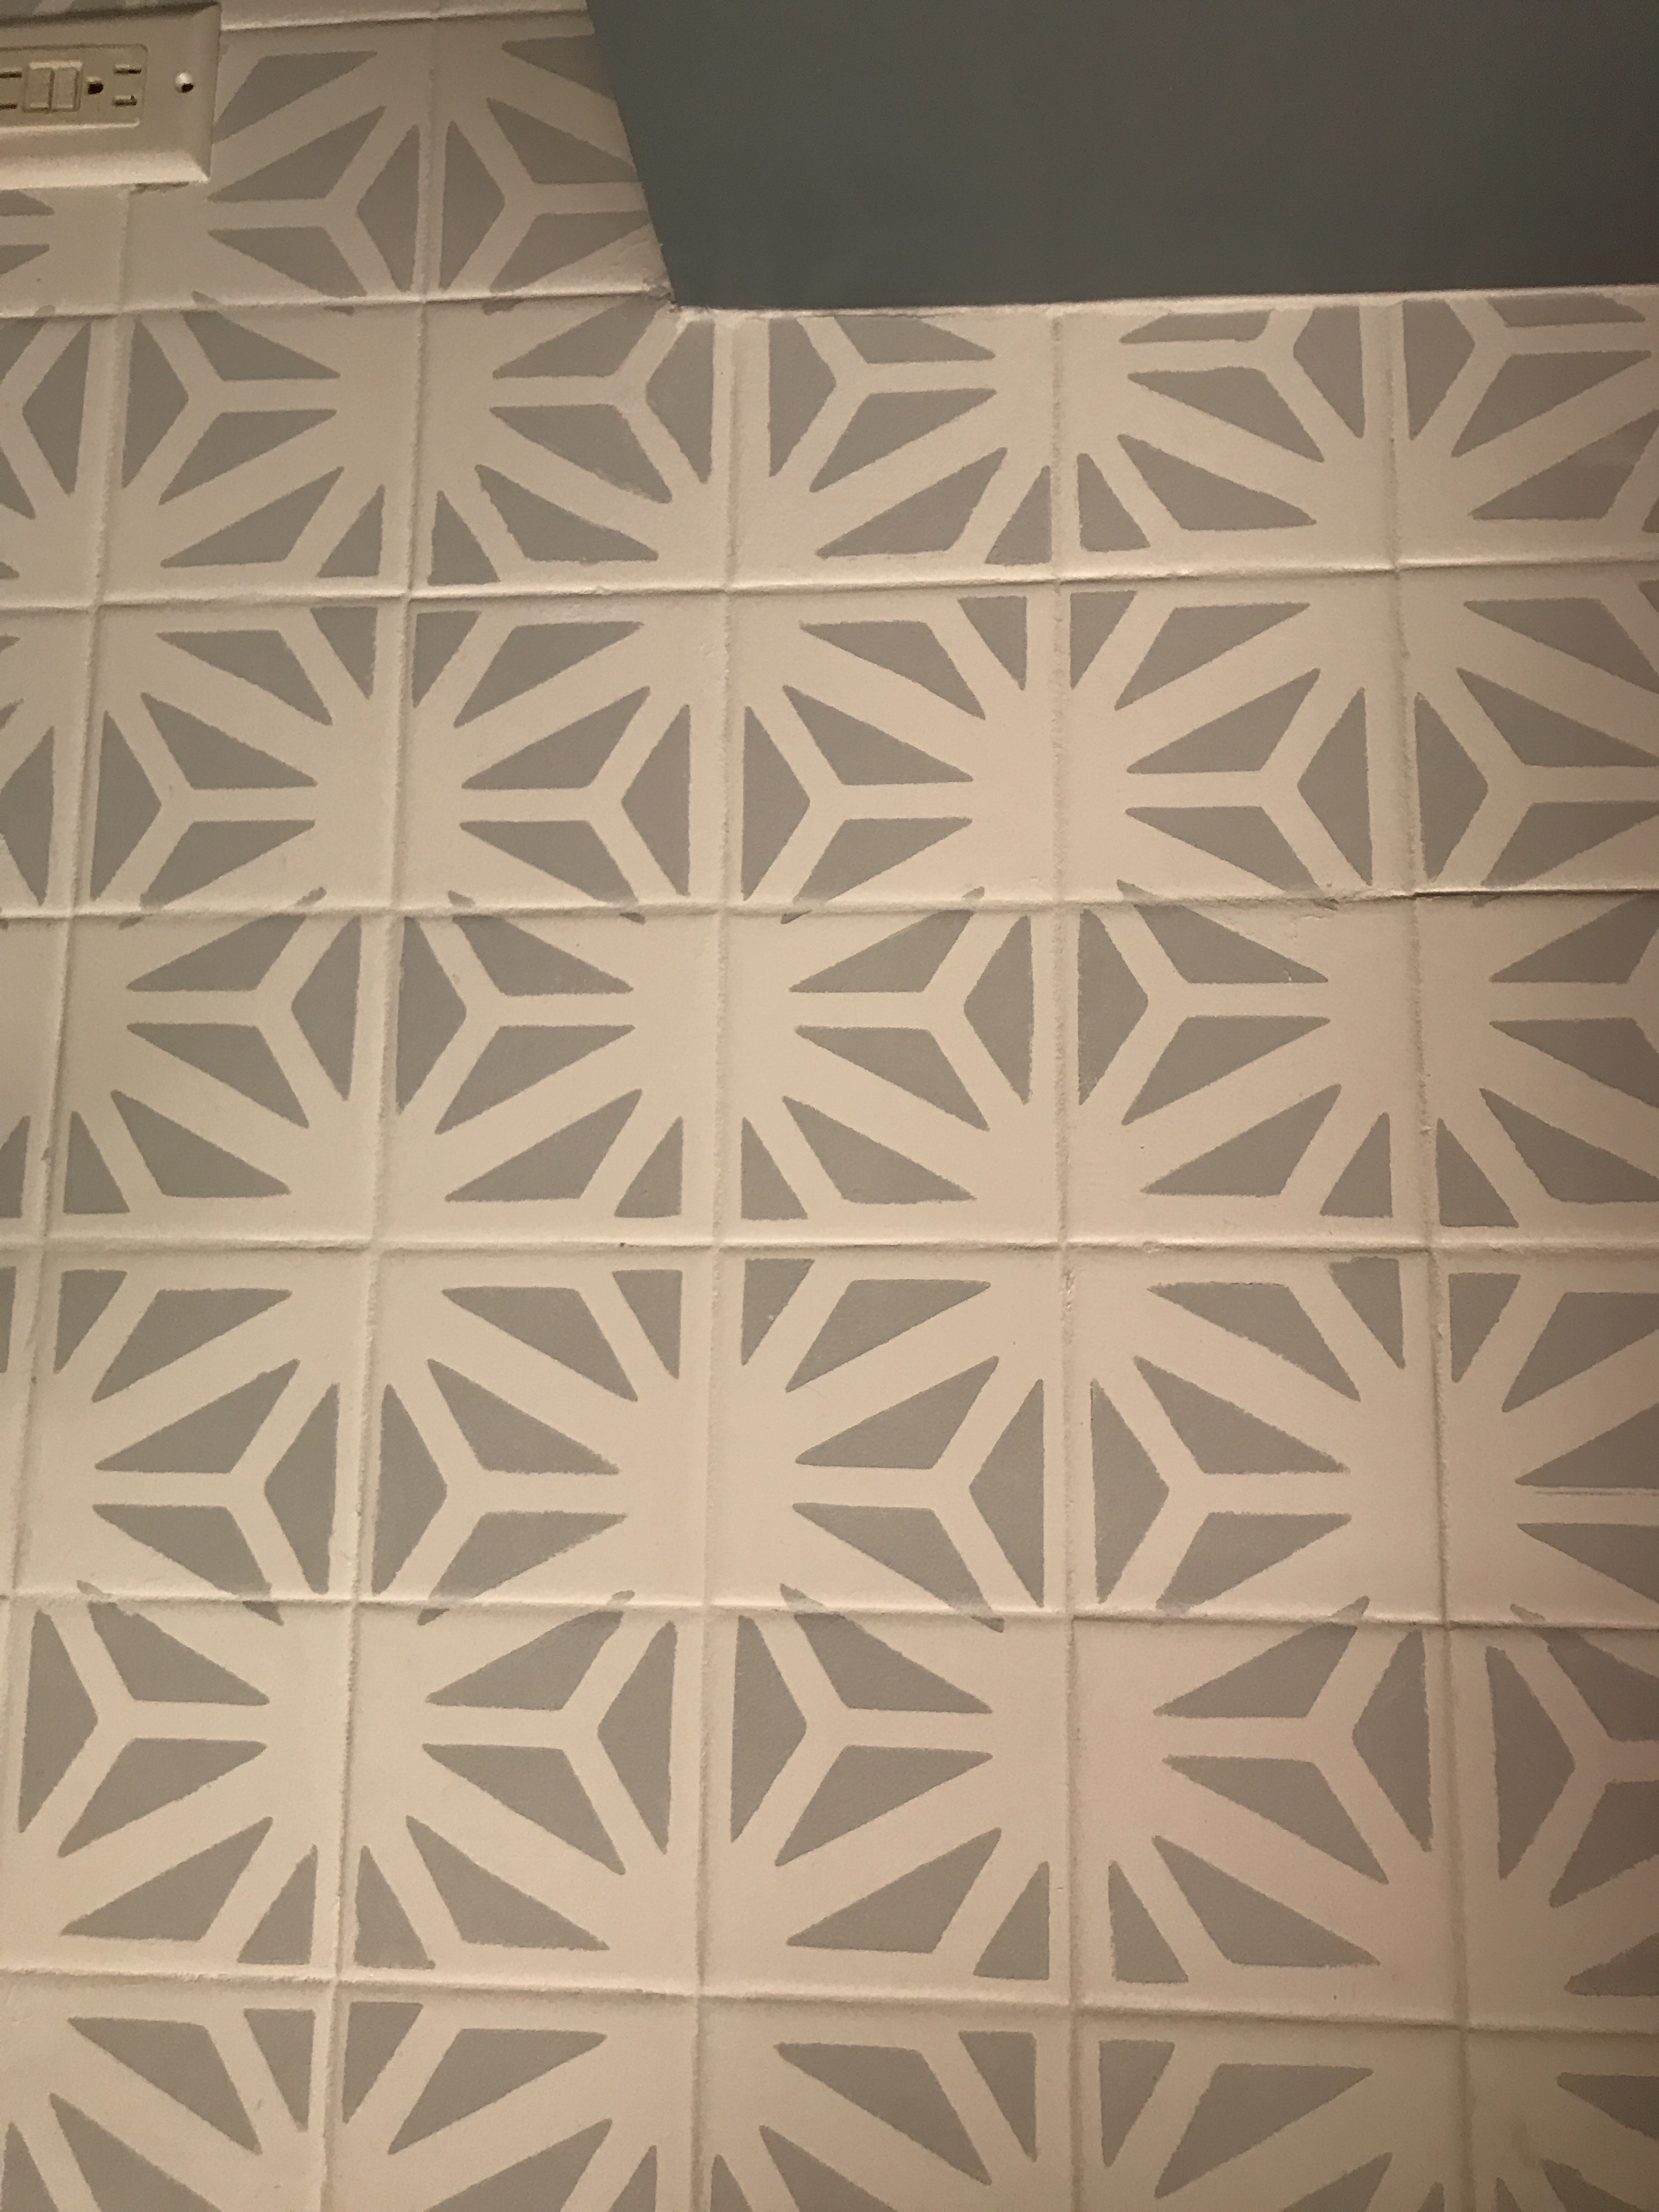
Well, if the kitchen were a Lady or a Dutchess, I consider it’s hardware to be her jewelry and the backsplash her gown. After digging deep into the archives of google images and Pinterest, I finally found a backplash I loved. Seriously gorgeous and I had not seen it anywhere before. with no tag indicating where it was from, I scoured the net until finally I found a cement manufacturer that made the same pattern. Clay Imports. I eagerly ordered a sample, and if the $15/tile price tag didn’t set me back, the color was just off. All around beautiful (linking to Clay Imports because they are certainly worth checking out), but not exactly what i wanted for my kitchen. The time had come, i needed to figure out how to create this backsplash myself.
STEP ONE: PRODUCTS
American Olean 4″x4″ white gloss tiles. Why these? Honestly, it came down to cost. I knew i wanted a pattern repeat of 8″x8″. Since these are readily available, I opted to try stenciling four together to create one run of the pattern.
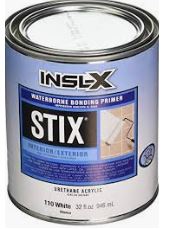
INSL-X STIX Bonding Primer
Benjamin Moore Tile Paint – tinted
Custom Tile Stencil – I ordered mine from the Etsy shop CraftBoxDesignStudio. This shop owner was amazingly fast at replying and shipping, and she really helped me determine the exact size I needed. All i had to do was send her an image of what I wanted stenciled, and it only cost $10!
Lastly, I bought a sponge roller (a nice one from Benjamin Moore, as I needed it to last awhile and do a flawless job) and some stencil adhesive spray from the local craft store. My stencil was still 8×8″, so it covered 4 tiles (the pattern completed was four tiles and then repeat with another 4 tiles).
Here’s some images of the process:

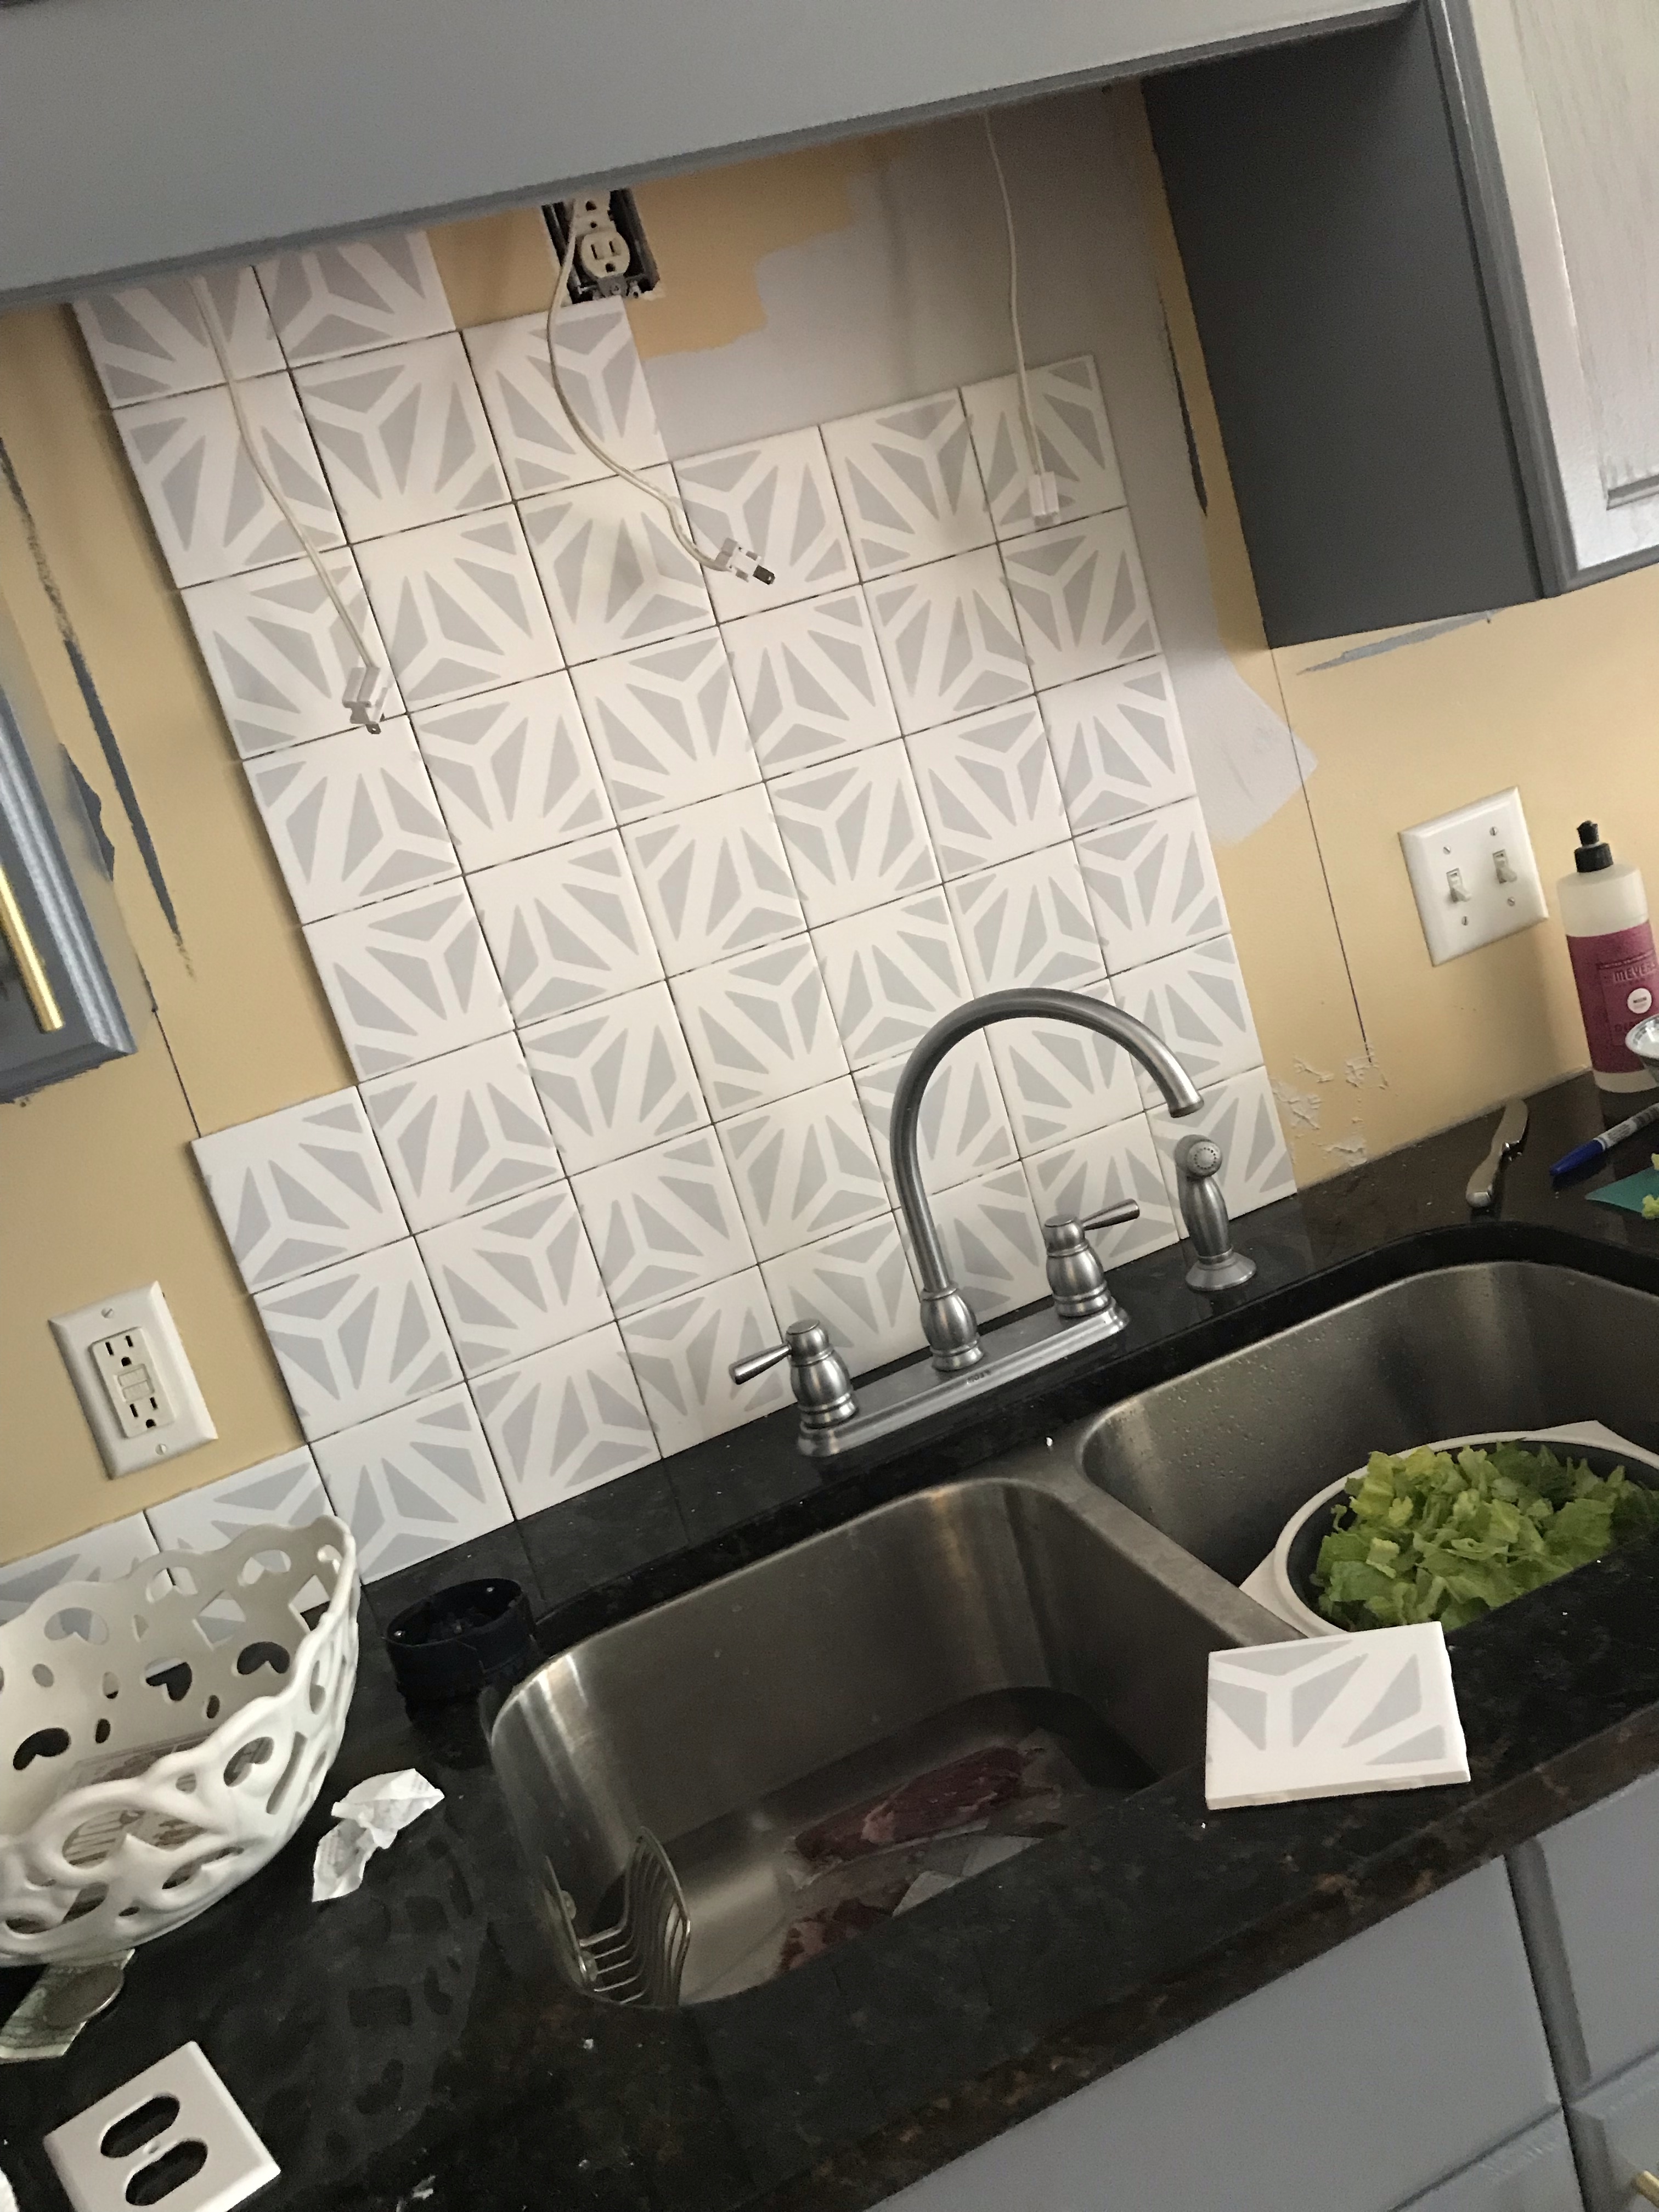
I managed to complete these tiles by laying drop clothes on my kitchen floor and priming and stenciling whenever I could (naptime, after the kids were in bed, while the kids were otherwise occupied…).

Leave a reply to An ode to Madison: House Tour – Willow & Twig Cancel reply